
10 Real Estate Drone Photography Tips for Stunning Property Shots
- Seona seona@usestyle.ai
- Aug 30, 2024
- 4 min read

Are you looking to take your real estate photography to new heights? With the power of drone technology, you can capture breathtaking views that make properties shine. In this article, we'll explore essential tips to help you master real estate drone photography, ensuring your listings stand out in a competitive market.
1. Understanding Drone Basics for Photography
Before diving into the art of aerial photography, it's crucial to grasp the basic principles of drone operation. Familiarize yourself with the types of drones available, especially those designed specifically for photography. While some drones are built for speed and agility, others may offer superior camera capabilities. Understanding these differences can significantly influence your photography outcome.
It's also important to learn about flight regulations and restrictions in your area. Knowledge of these rules will not only keep you compliant but will also avoid potential disruptions during your shoot. Make sure to check for no-fly zones and any permits you might need, as this can vary greatly depending on where you live.
2. Choosing the Right Drone for the Job
When selecting a drone for real estate photography, several factors come into play. Image quality is paramount—look for a drone with a high-resolution camera and stabilization features to achieve smooth shots. Some popular choices in the market include DJI's Phantom line, known for their quality and user-friendly interfaces.
Battery life is another critical consideration. You don’t want to be rushed while taking stunning shots; thus, aim for drones with longer flight times. Additionally, consider the drone’s range and control options, as these can significantly impact the variety of angles and distances from which you can shoot.
3. Mastering Camera Settings for Aerial Shots
To capture breathtaking aerial views, mastering your camera settings is crucial. Begin with adjusting the shutter speed to avoid motion blur—generally, a speed of 1/1000 or faster is ideal for crisp shots. Don't forget to set your ISO appropriately; lower values avoid graininess, while higher values can be advantageous in low-light conditions.
Moreover, consider the white balance to ensure accurate color representation.
Experiment with different settings according to the time of day and lighting conditions, as this can drastically change the mood of your photographs. Understanding these intricacies will allow you to harness your drone's capabilities fully.
4. Planning Your Shoot with the Perfect Timing
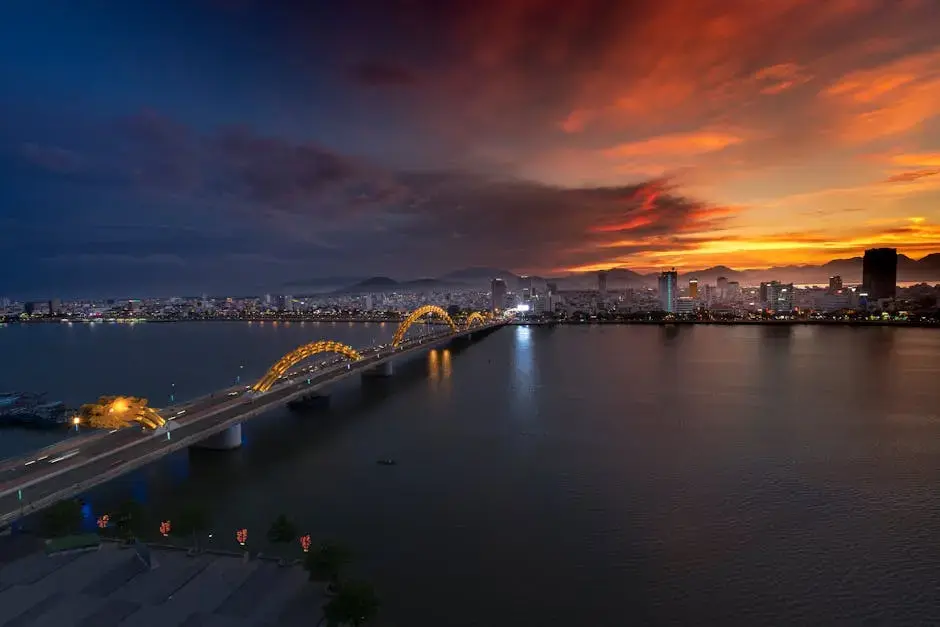
Timing is everything in photography, and aerial shots are no exception. The golden hour—just after sunrise or before sunset—provides soft, diffused lighting that can breathe life into your images. Plan your shoots around these times for the most dynamic and visually pleasing results.
Beyond just the time of day, also consider the seasons. Different seasons offer unique perspectives and color palettes that can enhance your property shots. For instance, lush greenery in spring contrasts beautifully with the autumn hues, each adding a distinct charm to the properties you represent.
5. Utilizing Natural Lighting for Impact
Natural light is one of your best friends in photography, as it adds depth and character to your images. Always be mindful of how shadows can impact your shots—positioning your drone properly can help manage these shadows effectively. Flying at different altitudes and angles may also help you capture the property in the best light.
Additionally, don't shy away from cloudy days—overcast skies can diffuse harsh sunlight, providing a flattering softness to your images. Experiment with different weather conditions to discover what works best for your aesthetic goals.
6. Creating Compelling Composition from Above
A well-composed aerial photograph does more than showcase a property—it tells a story. Use the rule of thirds to guide the placement of your subject within the frame. This can help create balance and interest in your shots, drawing the viewer's eye naturally toward the focal point.
Consider varying your shot angles as well. For instance, capturing the property from above at a slight tilt can add dynamism and intrigue. Additionally, incorporating leading lines from pathways or fences can create a sense of depth and draw the viewer's attention into the image.
7. Incorporating Surroundings to Enhance Your Shots
Great real estate photography doesn't just focus on the property itself; it also beautifully captures its surroundings. Incorporate elements like nearby parks, bodies of water, and architectural features in the neighborhood to add context and appeal to your listings. This layered approach helps potential buyers envision the lifestyle that comes with the property.
When framing your shots, think about how to connect the home to its environment. This could mean capturing a stunning sunset over the backyard, or a series of trees leading up to the entrance. These details can highlight the unique selling points of the property while also showcasing its location.
8. Editing Your Images for Maximum Appeal
Post-production is a vital stage in the photography process that can elevate your images significantly. Begin by cropping your photos to enhance composition further, removing any distracting elements at the edges. Utilize software such as Adobe Lightroom to adjust exposure and contrast, ensuring that your images pop.
Don’t forget about color correction, as this can vastly improve the overall feel of your images. While trying to maintain a natural look, sometimes boosting the saturation can make greenery and outdoor areas more alluring. Just remember, your goal is to accurately represent the property while making it irresistible to potential buyers.
9. Understanding Local Regulations for Drone Photography
The world of drone photography operates under specific regulations that vary by location. It’s crucial to research local laws about flying drones, especially in residential areas, parks, or near airports. If you're unaware of these regulations, you could face hefty fines or incidents that could compromise your shoot.
In many cases, you’ll need to register your drone and may also require a remote pilot certificate, particularly if you’re using the drone commercially. Always familiarize yourself with your country’s aviation authority guidelines to ensure that you’re compliant before flying.
10. Showcasing Your Work Effectively
Once you have a portfolio of stunning drone shots, showcasing your work effectively is key to attracting clients. Start by creating a dedicated website or social media presence that highlights your best photographs. Using platforms like Instagram can be particularly effective, as their visual format allows potential clients to quickly appreciate your abilities.
Beyond just displaying your images, engage with your audience through storytelling. Share behind-the-scenes insights from your photoshoots, explain your creative process, or highlight the features that make your captures special. This personal touch can resonate with potential clients and differentiate you from competitors, showcasing not just your work but who you are as a photographer.


Comments